Crafting Durable, Stunning Floors
A great epoxy floor isn’t about “slapping on a coating.” It’s about proper prep, the right system for your concrete, and pro-level installation. That’s how you get a floor that looks incredible and holds up in real life — especially in Florida heat and humidity.
Below is exactly how we do it...
1) Free Consultation + Project Planning
We start with a quick call or site visit to understand your space and goals:
Location (garage, patio, pool deck, commercial, etc.)
Current condition (paint, old epoxy, moisture issues, cracks)
Finish choice (full flake, light/terrazzo flake, solid, metallic)
Slip resistance needs (barefoot areas vs. shoes/work use)
You’ll get clear recommendations, not a one-size-fits-all pitch.
2) Concrete Evaluation + Moisture Check
Concrete can hold hidden moisture, and moisture is the #1 reason coatings fail.
We inspect for:
Moisture vapor transmission (MVT) risk
Efflorescence / hydrostatic pressure signs
Cracks, spalls, and weak areas
Previous coatings and contamination (oil, silicone, curing compounds)
If the slab needs a moisture barrier, we design the system accordingly.
3) Surface Prep (The Make-or-Break Step)
This is where most “cheap epoxy” jobs cut corners — and where we don’t.
We mechanically prep the slab by:
Diamond grinding to open the pores of the concrete
Removing old coatings (if present)
Fixing soft spots and damaged areas
Creating the correct concrete profile for bonding
Prep is everything. If prep isn’t right, nothing else matters.
4) Crack, Joint & Detail Work
We repair imperfections so the finish looks clean and professional:
Crack repair and smoothing
Edge and stem wall detailing (if applicable)
Optional joint strategy (depending on movement and customer goals)
We’ll always explain what can be made seamless and what should remain functional for the slab.
5) Primer + Base Coat (Built for Your Conditions)
Next we apply the correct primer/base system for:
Your slab condition
Your environment (heat/humidity/UV exposure)
Your finish type
If needed, we install a moisture vapor barrier (MVB) to protect the coating system from below.
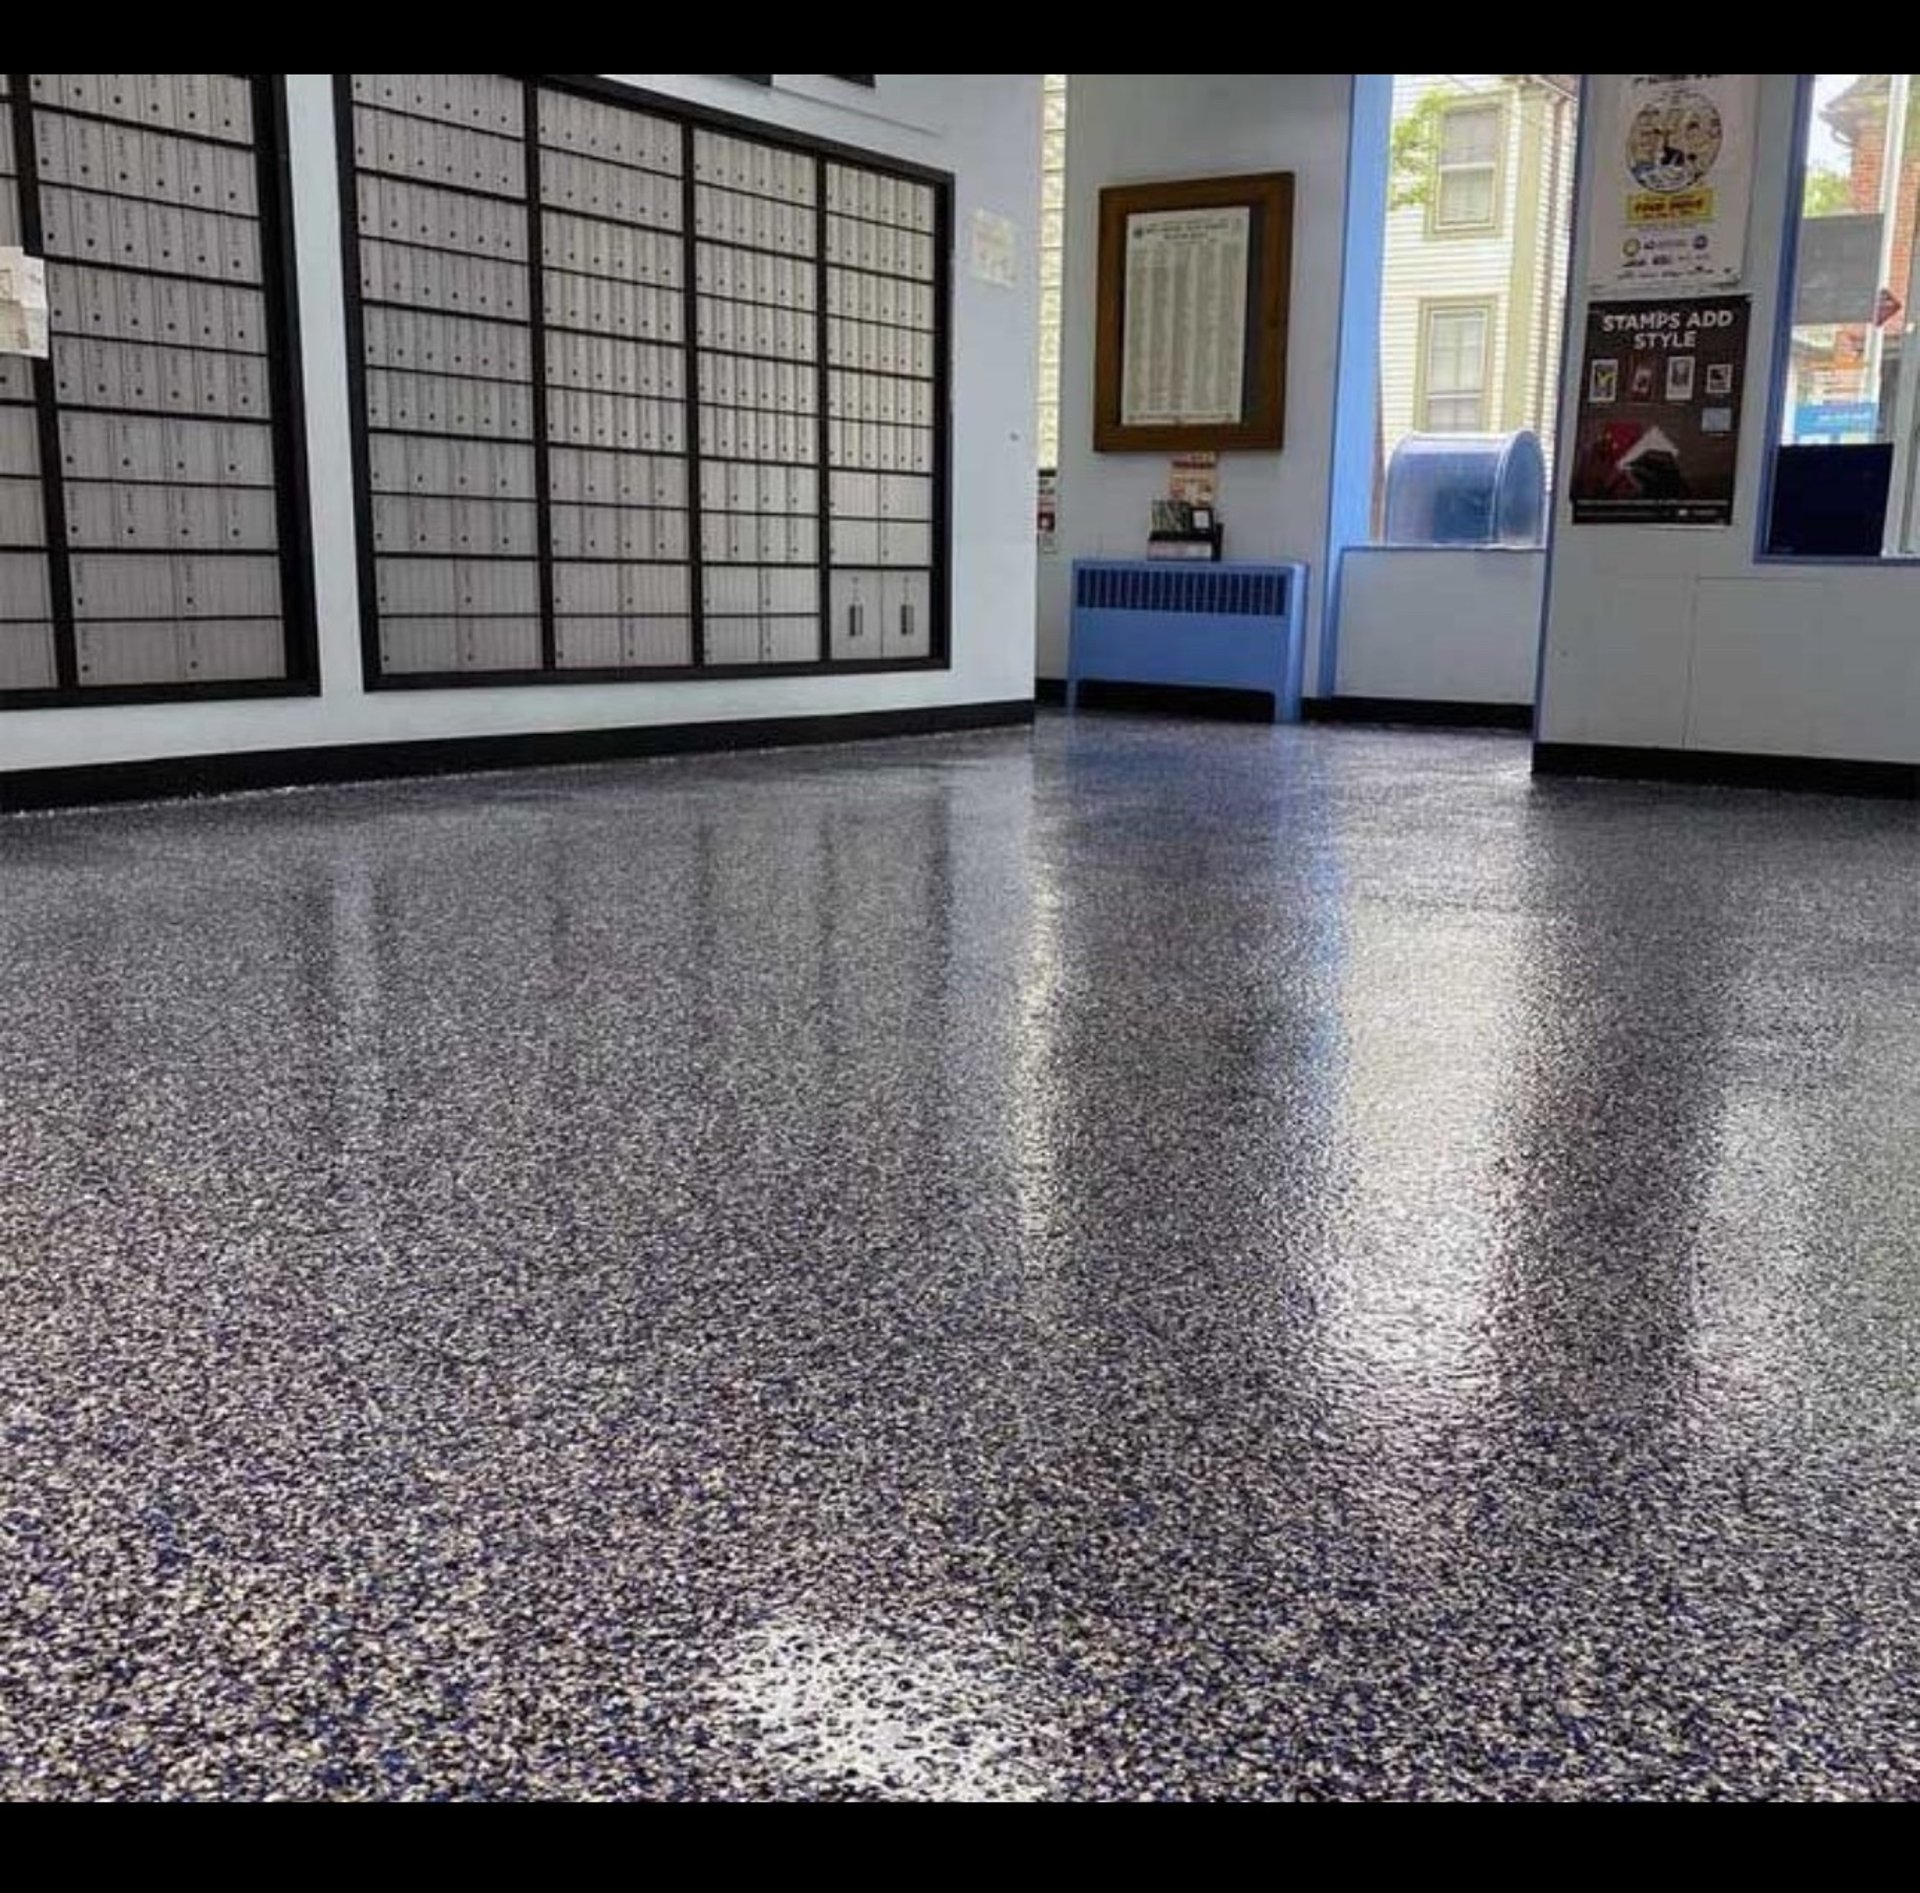
6) Flake Broadcast (Light, Full, or Terrazzo-Style)
For flake floors, we broadcast decorative flake into the wet base coat:
Full broadcast for maximum durability and uniform coverage
Light broadcast for a clean, terrazzo-inspired look
Custom blends available
We don’t “sprinkle and pray.” Coverage and consistency are intentional.
7) Scrape, Vacuum, and Grout Coat
After the broadcast cures, we:
Scrape down the floor to remove sharp edges and level the texture
Vacuum thoroughly (dust ruins topcoats)
Apply a grout coat to lock the flake and create a smooth, sealed surface
This step is what gives that finished, professional feel.
8) Topcoat System (UV + Wear Protection)
We finish with a high-performance topcoat designed for durability and the environment:
UV stability (especially important outdoors)
Chemical and abrasion resistance
Optional traction additive for slip resistance
Gloss level based on your preference (from sleek to more muted)
This is your “wear layer” — the protection that keeps your floor looking new.
9) Cure Time + Return to Service
Cure time depends on weather conditions and the system selected.
We’ll tell you exactly when you can:
Walk on it
Move items back
Park vehicles
Wash/maintain
We give real guidance — not guesswork.
10) Final Walkthrough + Care Instructions
Before we leave, we:
Walk the project with you
Confirm finish consistency and detail work
Provide care and cleaning instructions
Share long-term maintenance tips so your floor stays looking sharp


Subscribe Today
Get exclusive updates and special offers
Contact
Get in touch for your free estimate today
Call
Tropoxy@gmail.com
(305) 741-5211
© 2025. All rights reserved.